I'm a bit of a novice when it comes to using the studio and all the various paraphernalia that goes with it. Which is why I approached the studio unit with a certain amount of trepidation. Having said that, I was looking forward to learning all about the diverse range of accessories you could have at your disposal to create the necessary visual effects to suit your relevant subject matter.
The benefits of studio photography is the lighting is artificial and you are able to control it to suit your subject matter, although it doesn't always have to take place within a studio setting or even indoors. There are also many subject matters that can be photographed within a studio setting.
Studio can be used to photograph:
- Food
- Products for advertising/commercial
- Animals
- Fashion
- Portraits
- Still life
On the first night we were introduced to studio, which now seems like many moons ago, John gave us a whistle stop tour of all the relevant health and safety issues associated with using the studio. We were also introduced to a number of studio accessories we could use when photographing people/still life to create a particular mood or ambiance, whilst highlighting key features and characteristic.
There are two types of light sources that can be used in the studio. A continuous light source, sometimes referred to as 'Red Heads' and a studio flash unit (strobe) to produce a variety of images. The continuous light source usually uses halogen, fluorescent or tungsten light bulbs. The strobe has a modelling light which can be adjusted and is usually good for portraiture.
We produced a series of images using the the studio flash unit and a range of light modifiers. Light modifiers are great for controlling the amount of light you have on your subject.
We produced a series of images using the the studio flash unit and a range of light modifiers. Light modifiers are great for controlling the amount of light you have on your subject.
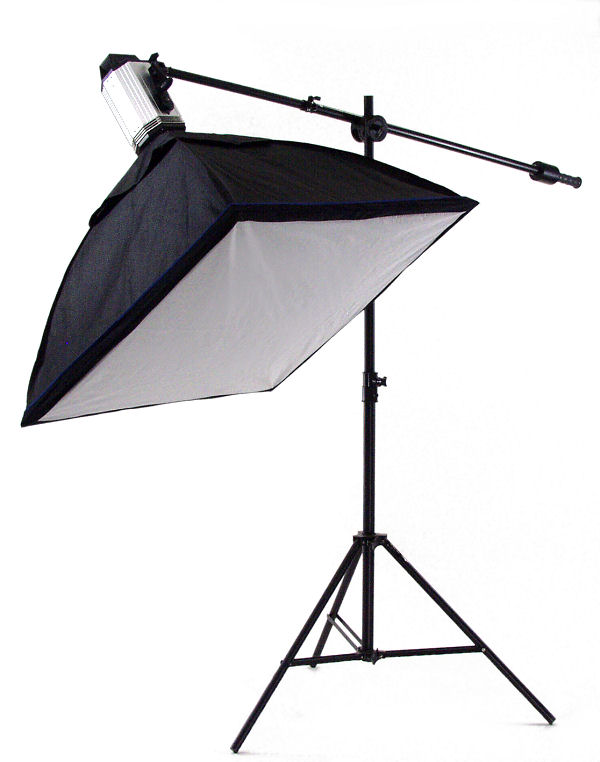
- Softbox
- Beauty dish
- Snoot
- Honeycomb
- Deep reflector
As the name suggests, the softbox is perfect for providing a softer and diffused pattern of light. They come in all shapes and sizes and are good for providing an even coverage of light. I used a rectangular softbox on the portrait below, for no other reason other than the square one was being used by the other half of the class. The effect of using this type of softbox has resulted in giving a narrower band of light. And as the subject has his head turned away from the light, it has resulted in some shadows on his face.

Beauty dish
A beauty dish can provide a larger area of low intensity light and easier to control than the softbox. The light hits the smaller dish, which is then reflected on to the larger dish, thus providing a softer and more diffused form of light. They can also be fitted with a honeycomb to soften the light even further. Using the beauty dish on this portrait has given a nice even soft coverage. It has also eliminated most of the shadows, and is great for fashion shots.


Snoot
This is a small circular directional light which gives a strong contrast. It can be quite harsh and is not always best to use on its own. The light can be quite narrow and concentrated, lighting a small part of the subject. Although it has provided a good light on the subject, you can still see some strong shadows.


Honeycomb grid
The honeycomb produces narrow beams of light whilst giving a soft edge all around it. Unlike the snoot, the light is less harsh and not as focused or as intense. The grids can vary in size, which indicates the tightness of the beams of light. The positioning of the subject has cast a bit of a shadow to one side of the face. A gold or silver reflector or a softbox could have been used to eliminate this.


A deep reflector
Gives a larger area of light, although not as strong as the snoot or as soft as the beauty dish or the softbox. The area inside the reflector is usually matt or silver and is quite contrasty.

The first night we used all the light modifiers was quite rushed and didn't allow me to have a good understanding of the effects of using each modifier. However, following on from there I have got to use the studio a little bit more, which has helped to become a lot more familiar with the characteristics of the different accessories and the best usage for each one to get the desired effect.
See also more and compare for best prices deals for Lighting Accessories here!
ReplyDelete